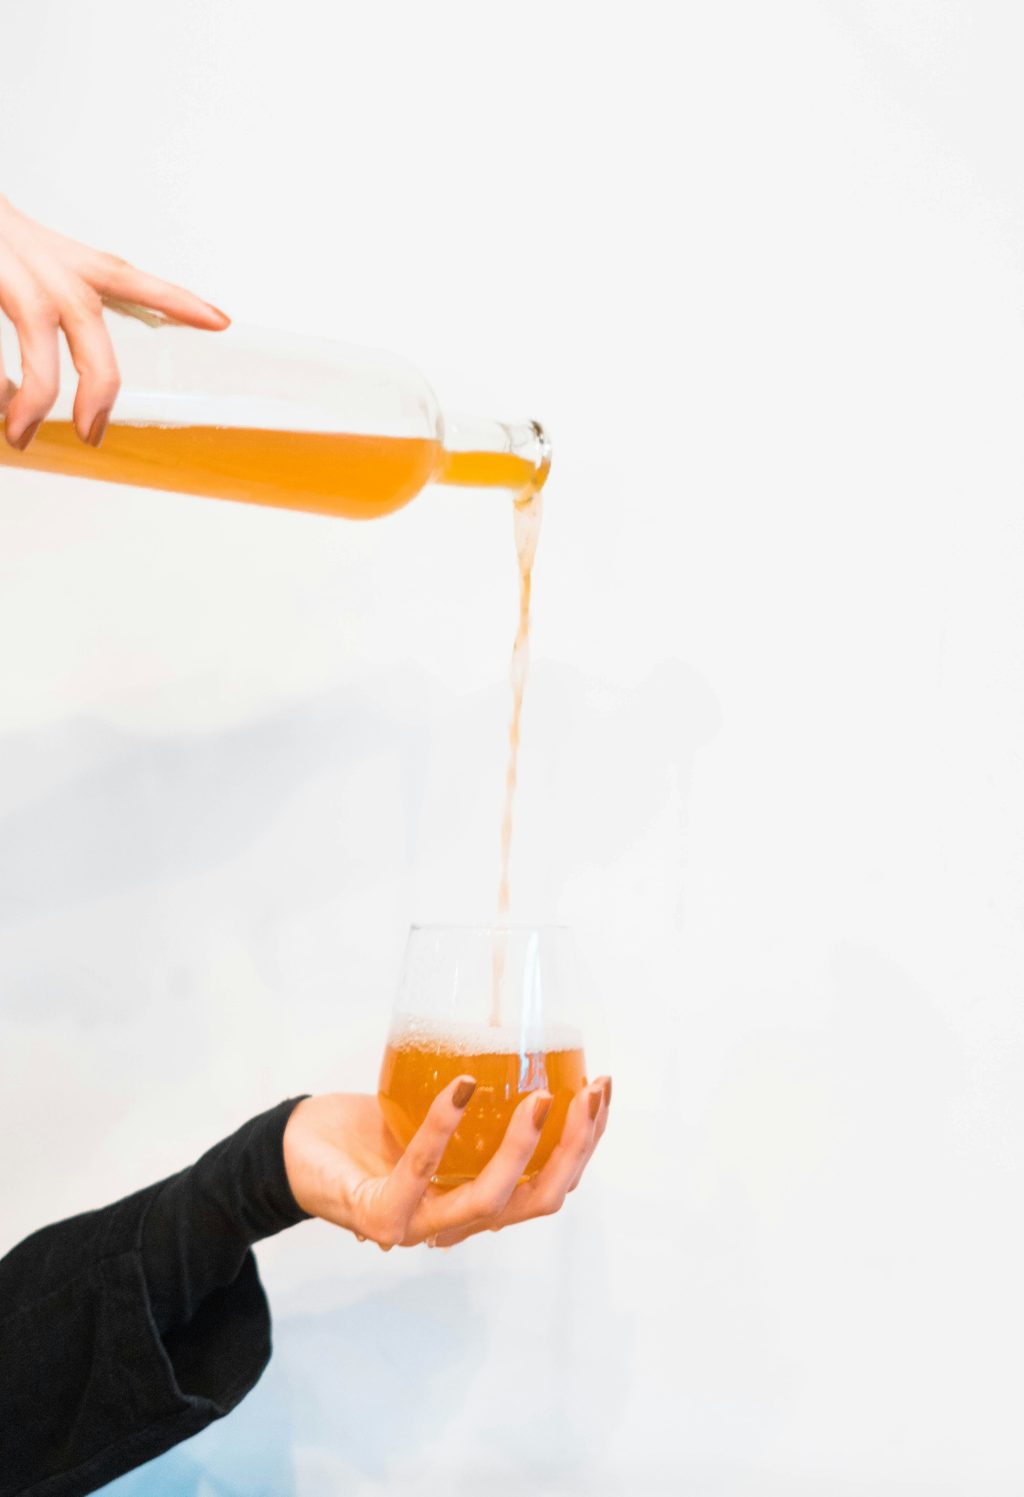
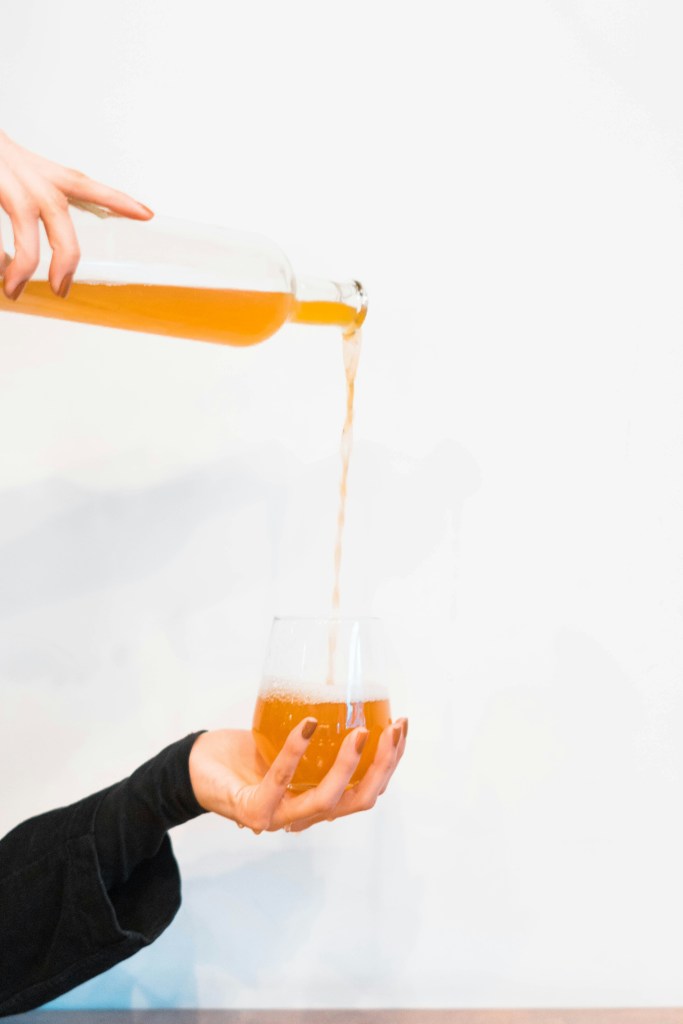
There is something incredibly satisfying about turning a simple jug of juice into a crisp, bubbly cider at home. It feels a little bit like magic… but really, it’s a fun science experiment!
If you’re brand new to cider making, this guide will walk you through the essentials and answer some frequently asked questions.
Is making cider at home difficult?
Making cider at home may seem intimidating, but it’s really not! With this cider making guide, you can definitely make it at home. Just remember that sanitization and measurements are important – treat it like a science experiment!
Do I need a cider making kit?
A lot of kits include everything you need but are geared towards making big batches. I would recommend using the items below to get started, and expand as you go. A small batch is a nice way to get an intro into the process. If you mess up with one gallon batch of cider it’s not as much of a loss, just a learning experience!
If you enjoy the process, like the taste of the final product, and feel pulled to start making larger batches, then go for a full kit.
What do I need to make cider at home?
You don’t need a full brewery setup to get started making small batch cider at home. For a simple 1-gallon batch, here’s what I recommend:
- 1 gallon glass jug or carboy – 1 gallon glass jug or carboy—you can use a large mason jar, just avoid ones with a bottom dispenser (like this one)
- Airlock + stopper – this is a great setup with jugs and airlock included!
- Hydrometer (for measuring sugar levels)
- Thermometer – I like these sticker ones
- Siphon (you’ll want a food grade one like this)
- Yeast (D-47 is a good beginner option)
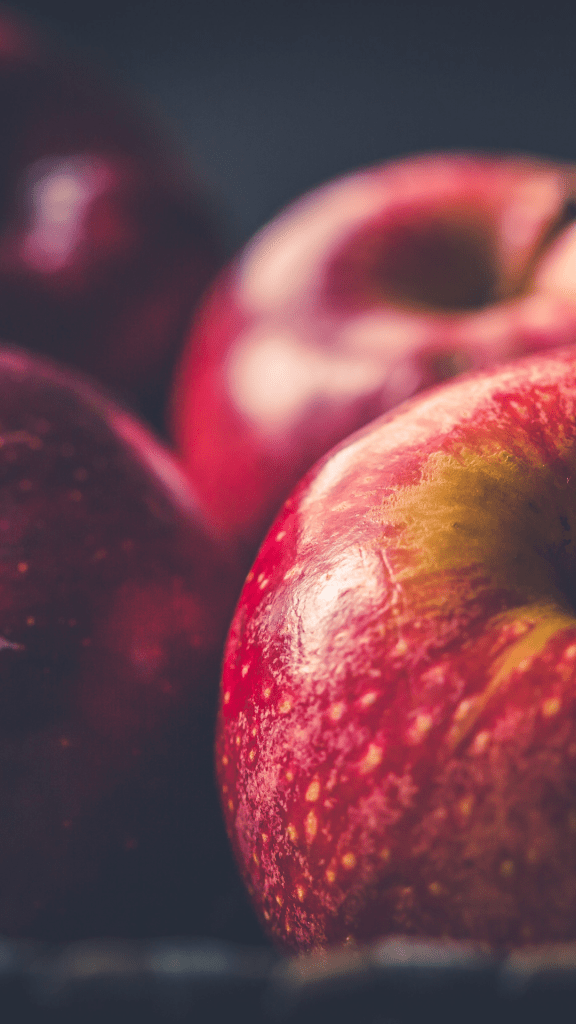
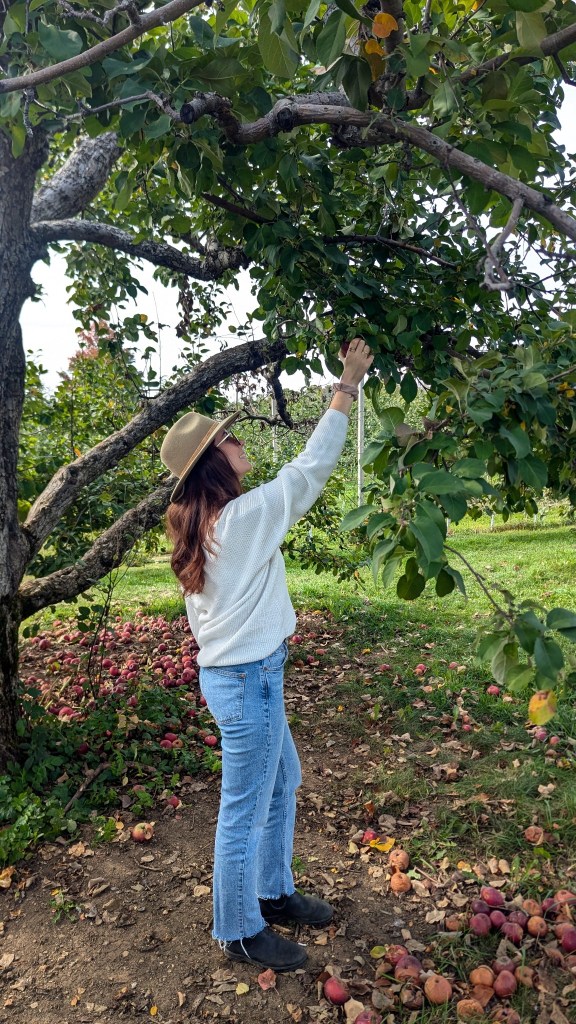
- Juice (your base ingredient!)
Optional but helpful:
- Pectic enzyme (for clarity if using orchard or fresh pressed juice)
- Yeast nutrients (this is not really necessary if using unpasteurized juice)
What Kind of Cider Can I Make?
This is where it gets fun! Once you get the basics down you can make some changes and play around to get different types. Experiment with aging to get a really dry, wine-like cider, backsweeten with fun juice flavours for a crowd pleaser, or experiment with the time spent on the “lees” to get a more complex sipping cider. You can even try different yeasts to change the texture and “mouth-feel” of the cider.
My favourite part is that you can choose the type of juice you use. There are so many different types of apples for cider, each giving their own unique flavour profile. You can even try adding juices like grape or cranberry for a fun twist!
What Actually Happens During Cider Making?
In a nutshell, cider making is simple:
- You start with juice & add yeast
- The yeast eats the sugar in the juice (fermentation)
- Alcohol and CO₂ are produced
From there, everything else (temperature, timing, ingredients) is about controlling flavour and fizz.
Does home made cider have alcohol?
Yes, the process outlined in this 101 guide will create alcoholic or “hard” apple cider. The fun part (well, one of them!) about home brewing is you get to choose the alcohol levels. There are ways to make a low alcohol cider that we will explore in another post.
Okay, so, what are the actual steps in the process?
There are 5 main steps, plus some prep:
- Fermentation
- Cold Crashing
- Racking to Secondary
- Aging Your Cider
- Backsweetening, Priming & Bottling
Most Important (A Word of Encouragement)
Your first batch doesn’t need to be perfect. In fact, part of the magic of cider making is learning how small changes like temperature, yeast choice, or aging time will completely transform the final result.
If you’ve gotten through this post and you’re excited to get started, check out the next post in the series, where I’ll walk through each step in the cider making process. Let’s get brewing!
Please note: I may receive a small commission from the products linked in this post. Thank you for your support!

Leave a comment