In this post, I’ll walk you through all the steps involved in making your first batch of homemade cider. If you’re looking for a quick, beginner-friendly recipe, you can jump straight to it here.
Think of this as your foundational class teaching you everything you need to know before you get started. We go through what you need to get started making small batch cider at home, what all those brewing terms actually mean, and all the steps in the process before you start your first batch.
Key Brewing Terms
Before we jump in, let’s demystify a few terms you’ll see throughout this series.
Original Gravity (OG) – This is a measurement of how much sugar is in your juice before fermentation starts. More sugar = more alcohol potential.
Final Gravity (FG) – This is the sugar level after fermentation is complete.
Lower FG = drier cider
Higher FG = sweeter cider
Hydrometer – A tool that floats in your liquid to measure sugar content (gravity).
pH measures how acidic your cider is. Acidity affects flavour, stability, and how well your cider ferments.
Pitching Yeast – This simply means adding yeast to your juice to start fermentation.
Lees – This is the layer of sediment (spent yeast + particles) that settles at the bottom during the cold crashing process.
Cold Crashing – Cooling your cider (usually in the fridge) to slow or stop fermentation and help particles settle.
Racking – Transferring cider from one container to another, done to separate cider from the lees.
Backsweetening – Adding sugar, juice, or other additives after fermentation to adjust sweetness and flavour.
Key Steps Involved in Cider Brewing
There are 5 main steps to brew your cider, plus some prep:
- Fermentation
- Cold Crashing
- Racking to Secondary
- Aging Your Cider
- Backsweetening, Priming & Bottling
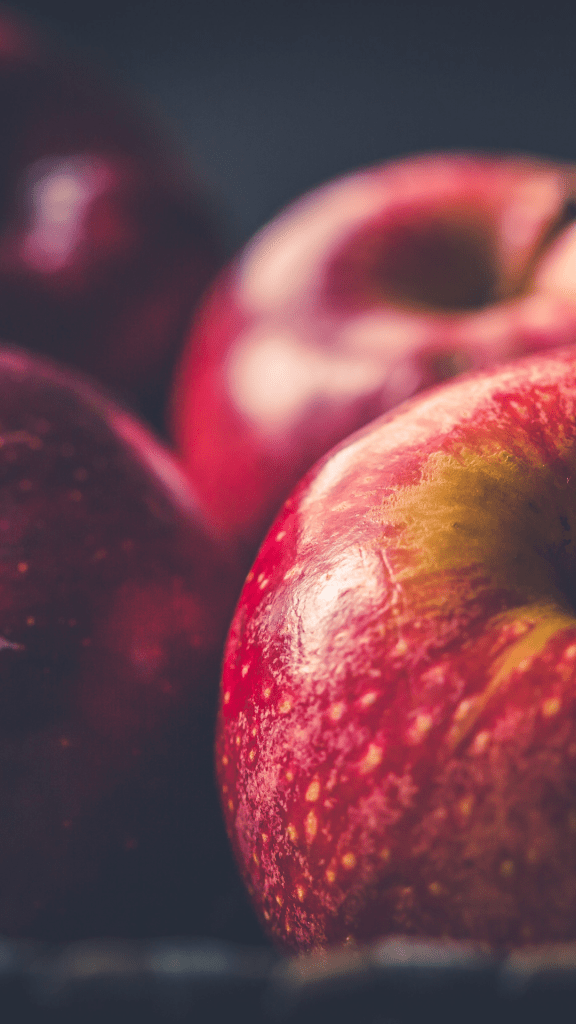
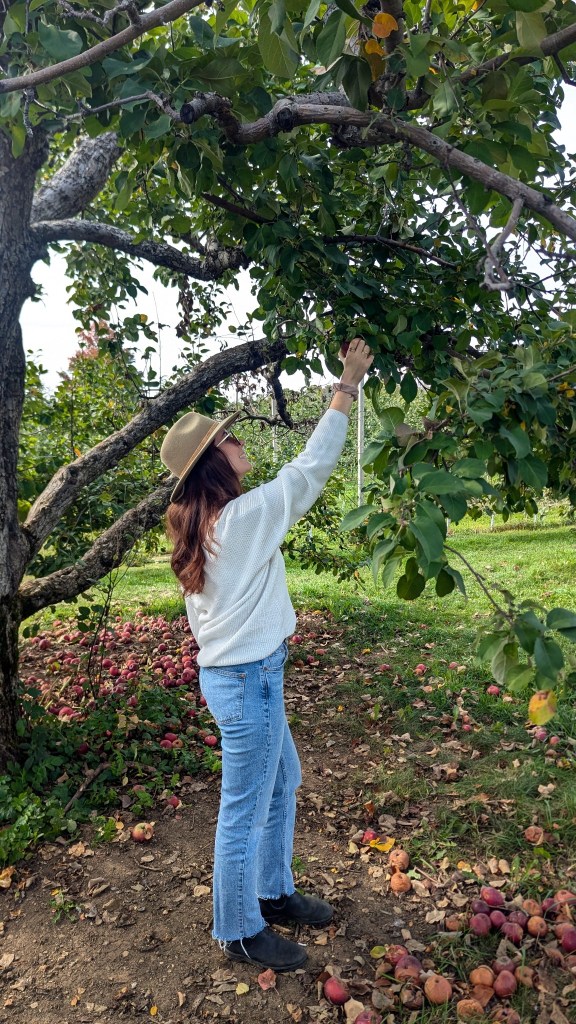
Prep: Choose Your Juice
Your cider is only as good as your juice! You can pick all kinds of juice ot make cider, here aare a few options:
- Fresh orchard juice produces a more complex cider, and produces more natural variation in flavour profile
- Store-bought juice is more consistent and beginner-friendly – make sure it’s unpasteurized!
- Apple juice blends are fun to add depth. You can also try mixing apple with cherry, grape, cranberry, or other “clear” juices. I would avoid orange or citrus juices.
Try to avoid juices with preservatives like potassium sorbate because they can alter fermentation processes.
Prep: Clean & Sanitize Your Equipment
If you haven’t already, check out the full list of everything you’ll need for a small batch of apple cider in Part 1 here. Before getting started, be sure to sanitize all of your equipment with boiling water.
Prep: Check Your Acidity
To be completely honest, this is a fun step to add to your notes, but it’s not really necessary, especially when you’re just starting out. Measuring pH will tell you how acidic your cider is, which can impact the final flavour. Alternatively, I’d recommend tasting your juice and determining what you should add based on your own personal taste. If it tastes sharp or sour, it’s likely too acidic.
If you do want to check it, you can use pH test strips (yes, like the ones for pools or soil testing), or a digital pH meter. You’re aiming for a pH of 3.2–3.7. Most store-bought juice will fall within this range already.
If it’s too acidic (low pH) you can add some sweeter juice like pear or grape juice. If it’s not acidic enough (high pH), you can add more tart juice like cherry or cranberry. You can also use malic acid (the natural acid found in apples) to adjust acidity, but this is more of an optional step and not necessary for beginners. It’s a great technique to experiment with once you get more comfortable.
Prep: Take Your Original Gravity (OG)
Time to use your hydrometer! The original gravity reading measures how much sugar is available in your juice for the yeast to ferment into alcohol.
- Pour some juice into a test container
- Add the hydrometer & let it float to the surface
- Read the number at the surface line
Anywhere around 1.050 is ideal. This will give enough sugars for the yeast to ferment to alcohol and keep enough body for a delicious, full flavour cider. More info on adjusting can be found in the troubleshooting section.
Phase 1: Fermentation
Fermentation is the process where yeast transforms sugar into alcohol and carbon dioxide—and while it might sound technical, you can see it happening in real time! Once you’ve added (or “pitched”) your yeast, fermentation should begin within 24 hours. You’ll notice some bubbling in the airlock, and foam at the top of the cider.
The fermentation stage generally lasts about 7-10 days. The length of time will depend on multiple factors, like the amount of yeast nutrients (sugars) in your juice, the temperature, and the yeast you are using. During this time, your cider will move from sweet and sugary to noticeably drier.
Once the fermentation slows, you’ll want to check the gravity reading again. Around 1.020, it’s time to step in and begin the cold crash.
Phase 2: Cold Crashing (A Beginner-Friendly Trick)
To stop fermentation, you can “cold crash” your cider by moving it to a fridge or cool space. The best temperature will be one that is too cold for the yeast to remain active, generally around 10–15°C (50–60°F).
Cold crashing helps to slow the fermentation when you’ve reached the gravity reading you want. Leave the cider in the fridge for at least 24 hours, until the particles start to settle at the bottom. You won’t want to leave the cider on the lees for too long, so time to move on to racking.
What happens if I leave the cider on the lees? While lees can add complexity, leaving cider on them for too long can create off-flavours, adding an overly yeasty taste. Thai is something you can play around with and get a taste for as you make more batches!
Phase 3: Racking to Secondary
Racking simply means transferring your cider into a clean container, leaving sediment behind. This is where the siphon comes in handy! Gently move the liquid into the second container without disturbing the lees. This new container is often called “Secondary”.
Phase 4: Aging Your Cider
Aging your cider is where personal preference really comes into play. You can enjoy it after just a couple of weeks for something light, fresh, and easy-drinking, or let it sit for 1–2 months for a more balanced flavour. In general, the longer you wait, the better it gets—very similar to wine.
As your cider ages, it will naturally clarify (this is called flocculation), smooth out in flavour, and develop more depth. You may even notice some natural carbonation over time!
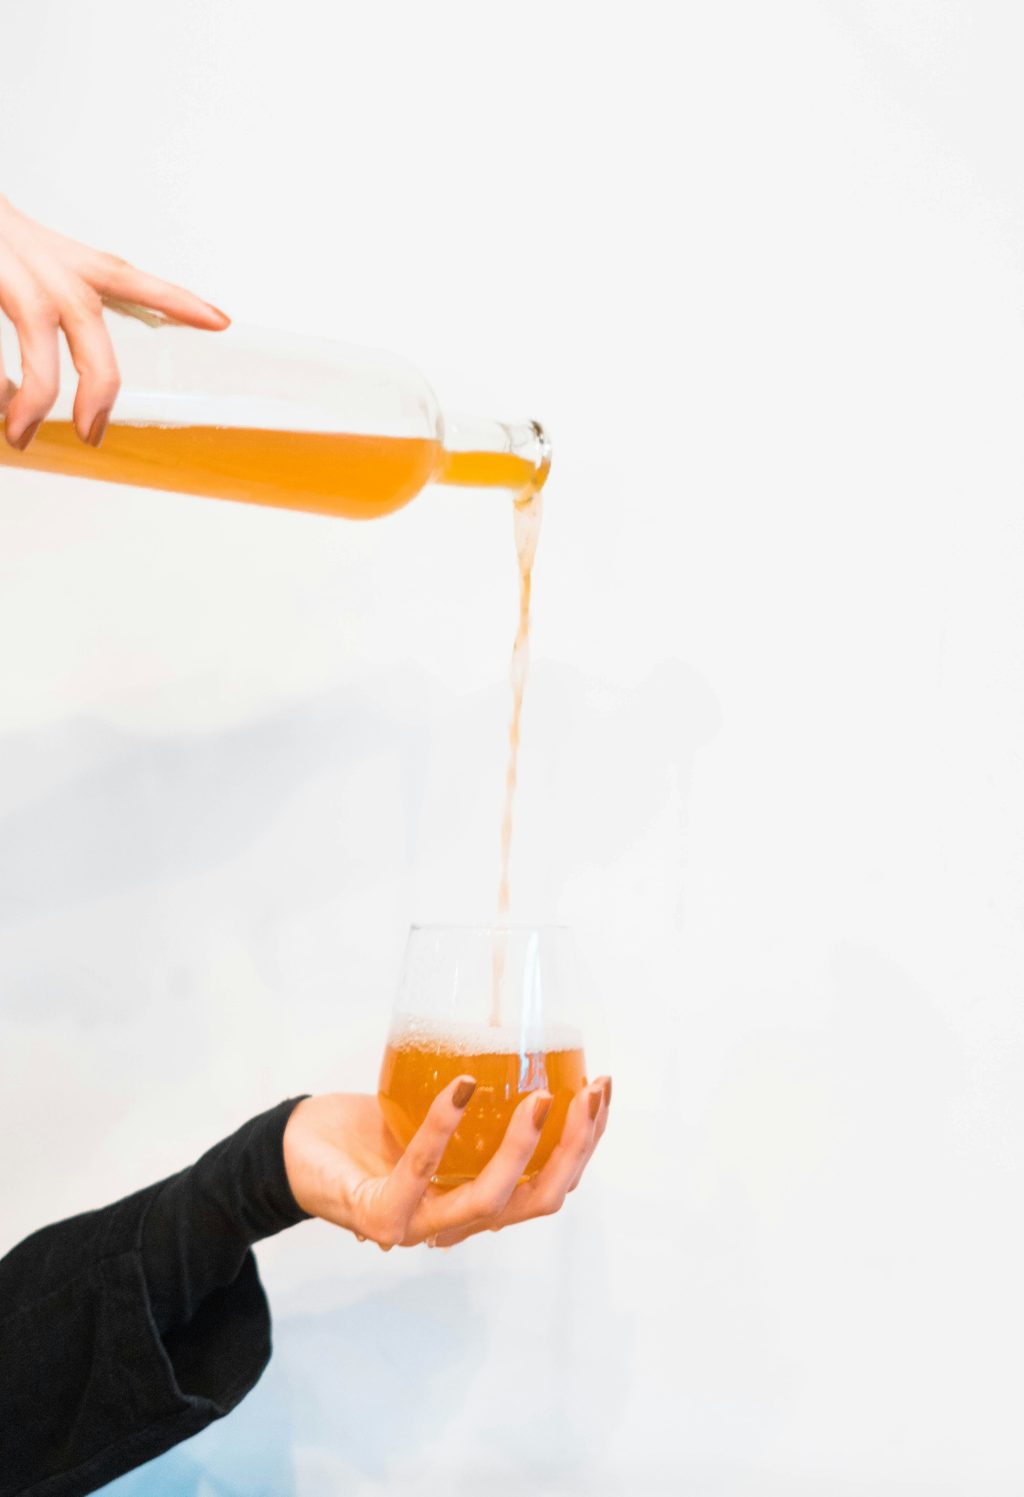
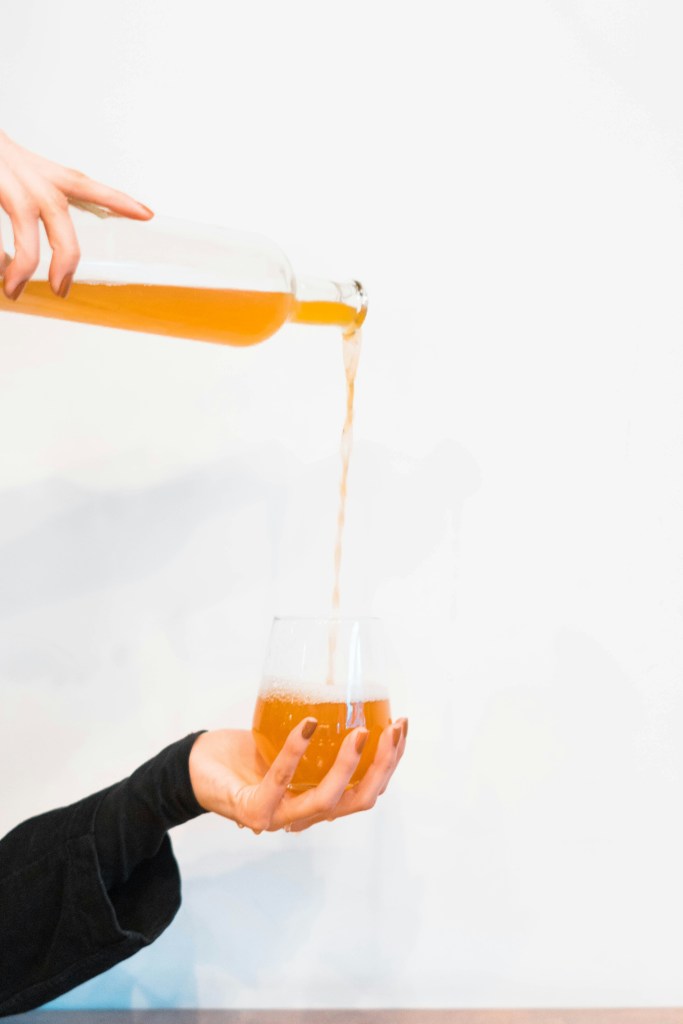
Phase 5: Backsweetening, Priming & Bottling
Backsweetening after fermentation can help to bring back a bit of sweetness or add some additional flavours to your cider. You can use juice or juice concentrate, honey, or simple syrup (and even fruit, though I wouldn’t recommend that if you’re just starting out). The juice choice for backsweetening isn’t limited as it was in the beginning – feel free to add citrus juice if you’d like!
The trick with backsweetening is to start small. You can always add more sweetness, but you can’t take it out. If your cider tastes a little “yeasty” or off, let it age a bit longer. Often, more sediment will settle out which will improve flavour. Don’t stress about getting it perfect, just aim for something you will drink and enjoy! Keep in mind, it will become slightly less sweet during carbonation, so plan for that as well.
Once you have the flavour profile to where you want it, you’ll add a small amount of priming sugar to give the yeast just enough to briefly restart fermentation and carbonate your cider. Keep in mind that too much sugar can create too much pressure, so always measure your priming sugar, use proper bottles, and avoid overfilling!
After priming, bottle your cider in airtight bottles (I like using swing-top bottles like these) and gently fill each one, leaving a bit of headroom for fizz when opened.
From here, you can let your cider carbonate at room temperature for about 3 days to 2 weeks (this is faster and more active), or in the fridge for about 7 days for a slower, more controlled process. Make sure to check on the bottles after a few days, you can open them to “burp” and see the carbonation level. The longer it sits, the more carbonated it will become.
If you want more control over the carbonation, you can also force carbonate using a SodaStream or something similar. This skips the second fermentation and lets you preserve the exact flavour profile of your cider! If you do this, there is no need to add priming sugar.
And that’s the entire process! Do you still have questions? Drop them below!
Subscribe to be notified of the next post in the series: The Ultimate Beginner Cider Recipe.
I may receive a small commission from some of the products linked here. Thank you for your support!

Leave a comment